Contributing to Open Source For Swag
October has come around quickly, which means it’s time to turn that GitHub graph green, find projects that need help and earn a t-shirt and stickers for your hard efforts. This post goes through what Hacktober is, how to find finding projects to contribute to while ensuring your safety and how to make a contribution.
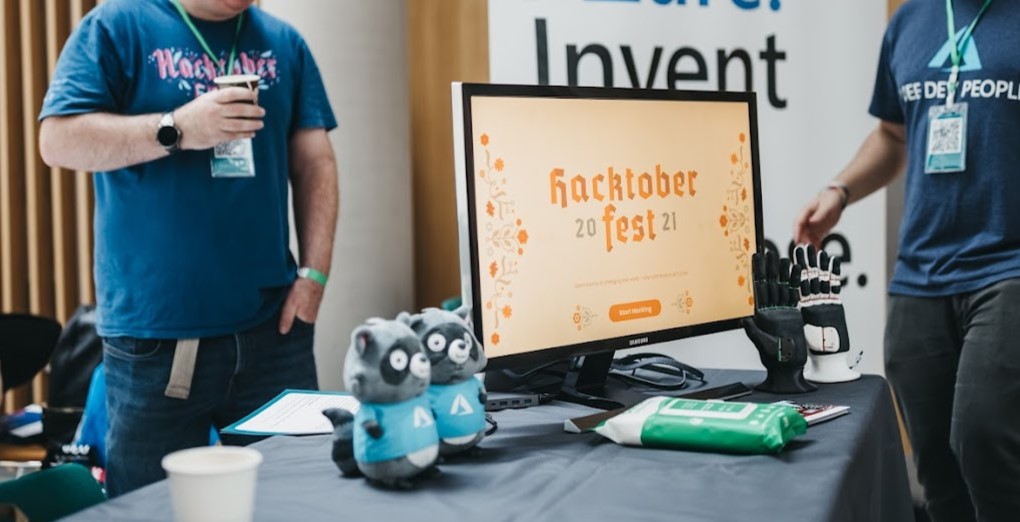
What is Hacktoberfest and how to sign up
Hacktoberfest is an event where the aim is to encourage participation on the open source community. In exchange for a number of pull requests on OSS repositories, participants are rewarded with a t-shirt and some stickers.
To sign up, head over to the Hacktoberfest website.
Which PRs count for Hacktoberfest?
Hacktober is now an opt-in process for maintainers as there have been issues with spam PRs. Spam PRs are where people have raised pull-requests for changes that have no beneficial impact to the repository.
What this means is that if an open-source repository is happy to have contributions from those taking part in Hacktoberfest, they need to label their topics with a Hacktoberfest label

On the main page of the repository you want to contribute to in GitHub you will see an About section on the right-hand side. Here the topic labels are displayed in blue tablets under the about text. Check that the Hacktoberfest label is present if Hacktoberfest is your current reason for contributing to open-source.
Where to find repositories to contribute to
There are a lot of places online to find places to contribute. Here are a few of the resources I’ve found that are available for new / first-time contributors:
First Contributions
First contributions is a repository made for those who have never contributed to OSS before. Fork, create a branch, add your name to the Contributors.md and raise a pull request.
Awesome First PR Opportunities
This repository lists projects by language that have labels indicating that there are issues suitable for those new to contributing to open source. It also lists the labels to search for within the issues of each project.
Up For Grabs
A site where you can search for issues that available by label, language, tag or name. It shows projects which have issues that indicate they are looking for contributors. This is for all levels and not only beginner friendly issues.
First Timers Only
This page have a number of resources for first time contributors.
GitHub labels.
There are a number of labels which are attached to issues, indicating they are looking for help and what level the problems may be available for. Some include:
beginnerbeginner-friendlyfirst-timers-onlyfirst-contributiongood-first-issuehelp-wantedup-for-grabs
Staying safe in open source
In general, people want to help you and encourage you to learn in a safe space. None the less, not all online spaces are safe and welcoming. For the most part, if it is indicated that a project has issues suited for beginners and first time contributors, then it’s a project you will be treated well in.
Check that the project has a code of conduct before contributing.
Hopefully this code of conduct will outline what you can do if you experience any behaviour that makes you feel uncomfortable or that is un-supportive. In this case, if the worst happens you know that you will be supportive and what support you can expect to receive.
The code of conduct may be in a markdown file, often named CODE_OF_CONDUCT.md or may be attached in the README of the project.
Check current issues and PRs for tone of voice.
An option is to look through current issues and pull requests that have been picked up to see what the maintainers tone of voice is and how responsive they are.
Are they constructive and friendly?
This is a check to see that you are going to get the right level of support and feedback that you need and that the environment/online-culture is suitable for you.
Are comments responded to within 6 months/a year.
Not all repositories will have immediate feedback, as often these repositories are done in maintainers free time. It is worth checking that the repository is still actively maintained, even if comments are addressed monthly.
Check the repositories licence.
Ensure that the project has a licence and that the licence is appropriate for an open-source project. The licence determines how the software and code contributed to it can be used, and how it is used by other parties (including whether anyone profits from it).
The Licence for GitHub projects is shown and linked to in the About section on the right-hand side of the main page of the GitHub repository, underneath the about text and topics. The example in the image below has an MIT Licence.

There are a number of resources around licencing, but a quick go-to is the list on the Open Source Website
How to contribute to a repository
Contributions can come in many forms. You can contribute code changes, correct spelling, write documentation, raise issues, conduct testing and more. All forms of contributions are incredibly valuable and appreciated.
Check the contribution guidelines of the projects
Open Source repositories often have contribution guidelines. This is often documented in a contribution.md file, and outlines what behaviours are expected and what to do when contributing to the project.
Make it clear on any related issues that you are picking up the work
Check the issues tab on the project to see if the changes you want to make are highlighted in there as a bug, feature or otherwise. Check that no one else has picked up the work and that it is still available to work on. If it is, make a comment that you are picking up the work and mark it as in progress with a label.
Fork the repository
Fork the repository and clone it locally. Configure your remote fork to have the original projects main branch as it’s upstream. If you regularly pull in changes from this remote “upstream” repository, your fork will remain up to date, reducing the chance of later complex merge conflicts.
Create a branch
In your forked repository create a branch, which is named according to the contribution guidelines for the repository. If there are no guidelines available, give your branch a short name that summarises your changes.
Clear commits
While working on your changes, make sure to keep commits small and clear. If possible, each commit should be a change which builds and has any tests passing. There are a few advantages to having small, clear commits. One of which is that the owners of the repositories will be able to read through your commits when a PR is raised to see what changes you made, in what order and what your thought processes were.
Test your changes
Whether manually or not, test your changes and gather evidence of them working. Run any existing tests as well to ensure the project is still working.
Be detailed when raising the Pull Request
You can raise a Pull Request at the end of your changes, or open a draft pull request early so that others can see your changes as they progress. When filling out the details of the Pull Request, I would advise including the following:
- A reference to any issue you are addressing. This is done using a # followed by the number of your issue. For example
#97. - A short description of the problem you are solving and the benefits of your changes.
- Evidence of your changes working. This can include screen shots from manual tests and instructions for replicating the result locally.
Double check you’ve met the contribution guidelines
Go back to the contribution guidelines and check that you’ve met the instructions/requirements outlined in them.
Checking for and fixing conflicts
Sometimes your changes will become out of date with the upstream (originating) repository as other changes have been merged in while you’ve been making yours.
Ensure upstream is set up
Check that your upstream is set up correctly using git remote -v. The returned output should look like:
> origin    https://github.com/YOUR_USERNAME/YOUR_FORK.git (fetch)
> origin    https://github.com/YOUR_USERNAME/YOUR_FORK.git (push)
> upstream  https://github.com/ORIGINAL_OWNER/ORIGINAL_REPOSITORY.git (fetch)
> upstream  https://github.com/ORIGINAL_OWNER/ORIGINAL_REPOSITORY.git (push)
If you are missing the bottom two lines, set up your upstream using a command in the terminal that looks like:
git remote add upstream https://github.com/ORIGINAL_OWNER/ORIGINAL_REPOSITORY.git
Pull in the upstream main branch to make sure yours is up to date.
Get the branches from the upstream repository:
git fetch upstream
Merge the upstream main branch into your fork and branch. Depending on what the default branch is for the upstream repository the last word of the following command could be master, main or something else.
git merge upstream/main
If there are conflicts.
There are numerous tools for resolving git conflicts including Beyond Compare, Visual Studio Code, your IDE or choice or you can use your terminal of choice.
I personally like to use the Visual Studio Code merge conflict solution. I find it very intuitive and easy to use.
Have a google and see which offering you think is best for you. If you do have conflicts and are struggling, you can comment to ask the maintainer to help resolve your conflicts.
Add all, merge and push
When the conflicts are resolved locally, you add your changes, merge and push. The branch should be back to being mergeable.
Extra Resources
When October Ends
Hacktober is an awesome initiative and can be great fun to take part in. Open Source isn’t just for Hacktoberfest. These labels and resources are available all year, and though you won’t get a t-shirt or stickers the rest of the year for your efforts, contributing is rewarding in it’s own right.
I hope that the experiences you have in October encourage you to keep contributing and taking part all year around.
Happy Hacking
Edits made: 4th October 2020
![]()